Pick One Font tutorial to work onCLO: Students will participate in the creative process (researching) by using the appropriate technology, listening, reading or referencing tutorials to explore Adobe Illustrator's shape, pen, pathfinder and text path tools.  HANDMADE WITH LOVE! HOW TO CREATE BADGE VECTORS Badge vectors are wonderfully useful within various branding projects and typography design sets. In this tutorial, we’ll make a vintage badge vector quite suitable for the DIY maker, crafter, and any designer who wants their consumer base to know the products are handmade with the utmost care and love!
 HO HO HOLIDAY ORNAMENT VECTOR AND SKETCHY FESTIVE PATTERN! In this Holiday Ornament Vector and Sketchy Festive Pattern tutorial we will learn how to create an original seamless holiday pattern using the Draw Inside mode and Pattern Maker feature. In the process of creating a holiday ornament vector we will be using gradient fills and Opacity Mask. Finally, to create light accents we will be applying the Color Dodge blending mode. Have some festive fun learning with our new Adobe Illustrator tutorial…
0 Comments
Watch These videos about fonts |
| | |
| CLO: Students will participate in the creative process (researching) by using the appropriate technology, listening, reading or referencing tutorials to explore Adobe Illustrator's shape, pen & pathfinder tools. |  |
Do ALl Three Tutorials

In this tutorial we’ll create a delicious fruit vector design from basic shapes and create a dynamic composition perfect for print and web media alike!
Tutorial Details:
How to Create a Simple Shape Composition Design
Tutorial Details:
How to Create a Simple Shape Composition Design
- Program: Adobe Illustrator CS6
- Difficulty: Intermediate
- Topics Covered: Design Theory, Shape Building, Compositional Skills
- Estimated Completion Time: 45 Minutes

Thanks to emoticons and emojis our communication on the internet has become more expressive and fun than just a boring text. Let’s follow this tutorial and create our own smiling emoticon, using simple geometric shapes, the Mesh Tool and Blending Modes to make it look dimensional and vivid!
Tutorial Details:
- Program: Adobe Illustrator CS6
- Difficulty: Intermediate
- Topics Covered: Mesh Tool, Shape Building, Pathfinder Panel, Blending Modes,
- Gradient Tool
- Estimated Completion Time: 30 minutes

Follow this tutorial to create a trendy flat teacup logotype in Adobe Illustrator!
We’ll be using and modifying basic geometric shapes, working with Align panel, Pathfinder functions and learning simple yet very useful tips and tricks. Let’s get started!
Tutorial details:
We’ll be using and modifying basic geometric shapes, working with Align panel, Pathfinder functions and learning simple yet very useful tips and tricks. Let’s get started!
Tutorial details:
- Program: Adobe Illustrator CS6
- Difficulty: Beginner
- Topics Covered: Logotype Design, Shape Building, Compositional Skills
- Estimated Completion Time: 30 Minutes
CLO: All students will be able to recognize and apply Contrast, Repetition, Alignment & Proximity (C.R.A.P), by creating an artwork using positive/negative space, and simple shapes. (Black Box Project)
Students will use the design cycle to brainstorm, sketch, create and revise their ideas, and will talk about their decisions with peers.
Use four black squares to create sketches that express the meaning of the six words below:
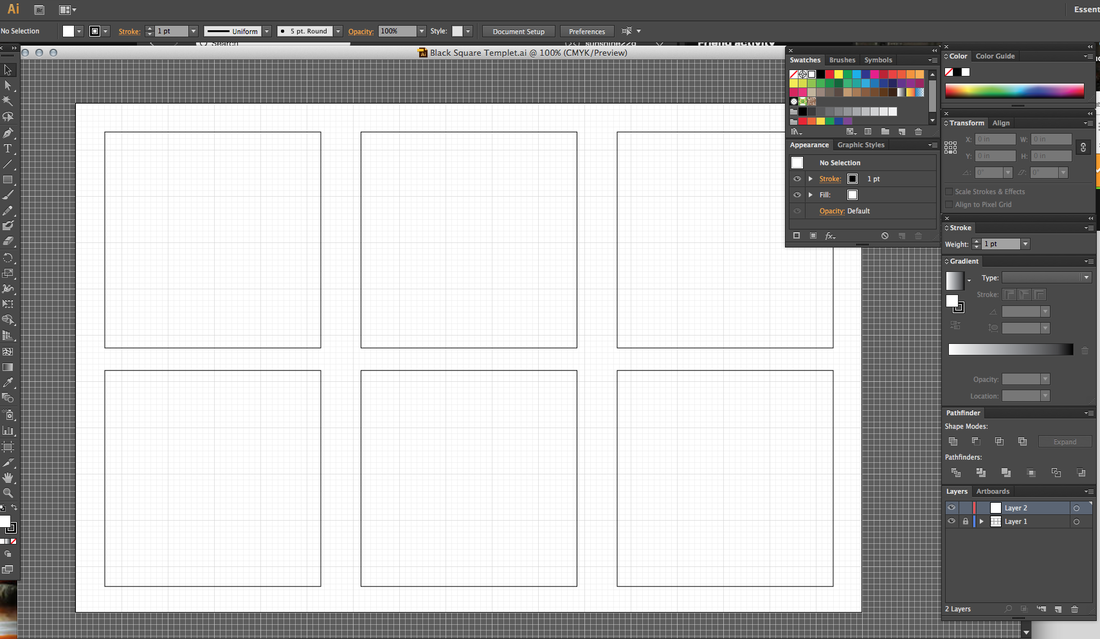
Use your sketches from earlier. Use Illustrator CS6 (especially the pathfinder tool) to recreate your best examples of the words in a 11x17 document. We should be able to see that you used C.R.A.P.
Students will use the design cycle to brainstorm, sketch, create and revise their ideas, and will talk about their decisions with peers.
Use four black squares to create sketches that express the meaning of the six words below:
- Order
- Increase
- Bold
- Congested
- Tension
- Playful
Use your sketches from earlier. Use Illustrator CS6 (especially the pathfinder tool) to recreate your best examples of the words in a 11x17 document. We should be able to see that you used C.R.A.P.


Layout Design & Composition

CLO: All students will be able to recognize and apply Contrast, Repetition, Alignment & Proximity (C.R.A.P), by creating an artwork using positive/negative space, and simple shapes. (Black Box Project)
Students will use the design cycle to brainstorm, sketch, create and revise their ideas, and will talk about their decisions with peers.
Size: 11 x17
Medium: Adobe Illustrator CS6
The Black Square Project
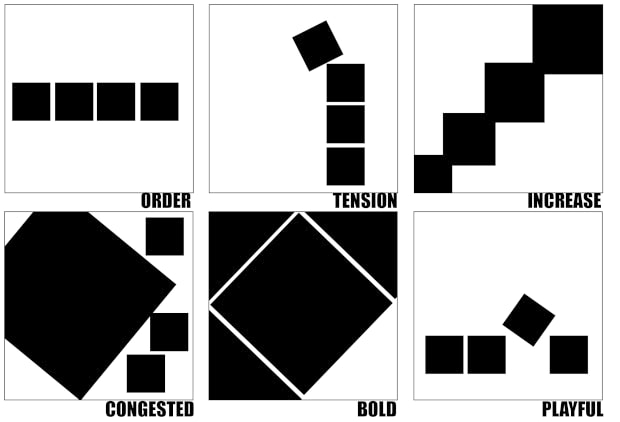
Use four black squares to create sketches that express the meaning of the six words below:
You will make at least 8 sketches for each word. Select the most effective solution for each one. When the assignment is complete, you should have a total of 48 sketches and a written reflection.
Remember, it’s usually not our first idea that is the most successful. Don’t always look for the obvious solution to the problem. You will find that for some of these words many of you will come up with outcomes that are very similar to your classmates, but here’s an important fact to keep in mind: The potential number of successful solutions are infinite!
- Order
- Increase
- Bold
- Congested
- Tension
- Playful
You will make at least 8 sketches for each word. Select the most effective solution for each one. When the assignment is complete, you should have a total of 48 sketches and a written reflection.
Remember, it’s usually not our first idea that is the most successful. Don’t always look for the obvious solution to the problem. You will find that for some of these words many of you will come up with outcomes that are very similar to your classmates, but here’s an important fact to keep in mind: The potential number of successful solutions are infinite!
The Design Cyle (creative Process)
CLO:
Students will participate in the creative process by researching/planning/creating and revising an ad for a new TV series to be shown on Netflix, inspired by their morphed image.
Students will learn how to add type and logos to their new design using photoshop by referencing tutorials and listening to peers.
File Size: 11x17 or 17x11,
150 DPI (resolution)
Things to think about...
- Who is your audience?
- What important information needs to be on the poster?
- Is your font readable? Does it match the theme of the show?
- Is your title catchy? Does your image work with the title?
- Don't forget when it is on...time of day/week is important.
- When you’ve completed your artwork, what can you do to help someone else?
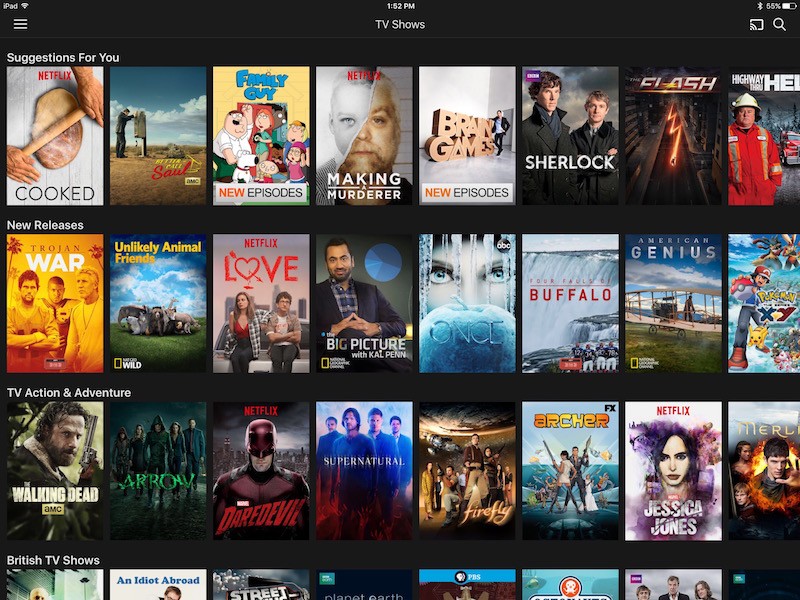
Use your morph as your inspiration. You may add new characters if needed or change background.
Be creative. Make your morph work for the series.
Be creative. Make your morph work for the series.


USING PHOTOSHOP LAYERS & ERASE TOOLS
CLO:
Students will participate in the creative process by using the appropriate tools in photoshop and by referencing tutorials for instruction to create a new morphed image.
Students will learn how to blend layers effectively to create a new image by creating their own hybrid.
Students will participate in the creative process by using the appropriate tools in photoshop and by referencing tutorials for instruction to create a new morphed image.
Students will learn how to blend layers effectively to create a new image by creating their own hybrid.
You may choose to do faces or animals or combine them both. Pick two or more images.
Using layers and eraser tools, create a new person or animal. Watch tutorial below to get ideas.
Using layers and eraser tools, create a new person or animal. Watch tutorial below to get ideas.
| | | |
 | CLO: Students will participate in the creative process (researching) by using the appropriate technology, listening, reading or referencing tutorials to explore Adobe Photoshop Follow the tutorial to learn basic tools in Photoshop CS6. Things to think about...
Start on page 93 in the tutorial. Split your screen into two so you may have tutorial open when you are creating. |
DOWNLOAD THESE IMAGES BELOW TO START!
Open them and right click. "Save as" to desktop.


